Connecting
SSH, port forwarding, file transfer, VNC, code-server and the waveform viewers — how to reach every tool on the machine.
The one rule
SSH on port 22 is the only open port. Every other tool — the VNC desktop, code-server, anything you start yourself — is reached by forwarding a port over that SSH connection. Nothing on the box is ever exposed to the internet, and nothing you launch can be reached by anyone who is not holding your key.
You need two things from your Voltai contact:
- a private key file,
your-key.pem - your instance name, e.g.
ampere→ampere.singularity.voltai.ai
Keep the key private and make it readable only by you, or SSH will refuse it:
chmod 600 your-key.pemSSH
ssh -i your-key.pem ubuntu@your-instance.singularity.voltai.aiAdd a host entry once and everything below gets shorter:
Host bitlevel
    HostName your-instance.singularity.voltai.ai
    User ubuntu
    IdentityFile ~/.ssh/your-key.pem
    ServerAliveInterval 30
From then on: ssh bitlevel.
Use tmux for anything long
A formal run or a Claude session can outlive your laptop's Wi-Fi. Start work
inside tmux; if the connection drops, ssh back in and tmux attach —
everything is still running. Ctrl-b d detaches on purpose.
Port forwarding
ssh -L binds a port on your machine and carries it to a port on the
instance. The pattern is always the same:
ssh -i your-key.pem -L <local-port>:localhost:<remote-port> ubuntu@your-instance.singularity.voltai.aiLeave that terminal open; the tunnel lives as long as the connection. You can
stack several -L flags in one command. The ports that are already listening
for you:
| Remote port | Service |
|---|---|
5901 | VNC desktop (XFCE) |
8080 | code-server (VS Code in the browser) |
Anything else you start on the box — a python3 -m http.server, a report
viewer — works the same way with its own port.
Transferring files
scp
# laptop → instance
scp -i your-key.pem ./my_block.sv ubuntu@your-instance.singularity.voltai.ai:~/caliptra-demo/src/

# instance → laptop (a results directory)
scp -i your-key.pem -r ubuntu@your-instance.singularity.voltai.ai:~/caliptra-demo/out ./out
rsync
Better for whole trees and repeat syncs — it only moves what changed:
rsync -avz -e "ssh -i your-key.pem" ./my_design/ ubuntu@your-instance.singularity.voltai.ai:~/my_design/SFTP clients
Any SFTP client works with the same host, user and key. Point it at port 22 and
select the .pem as the private key:
- FileZilla (Windows / macOS / Linux) — Site Manager → Protocol SFTP, Logon Type Key file
- Cyberduck (macOS / Windows)
- WinSCP (Windows) — will offer to convert the
.pemto its.ppkformat - VS Code — the Remote – SSH extension edits files in place over the same connection, no transfer step at all
- Command line:
sftp -i your-key.pem ubuntu@your-instance.singularity.voltai.ai
VNC desktop
A full XFCE desktop is running on the instance for when you want windows — waveform viewers, several terminals side by side, a file browser. It listens only on the instance's loopback, so tunnel it:
ssh -i your-key.pem -L 5901:localhost:5901 ubuntu@your-instance.singularity.voltai.aiThen point a VNC viewer at localhost:5901 and enter the VNC password from
your Voltai contact. Any client works — macOS Screen Sharing
(vnc://localhost:5901 in Finder → Go → Connect to Server), TigerVNC Viewer,
RealVNC Viewer, Remmina.
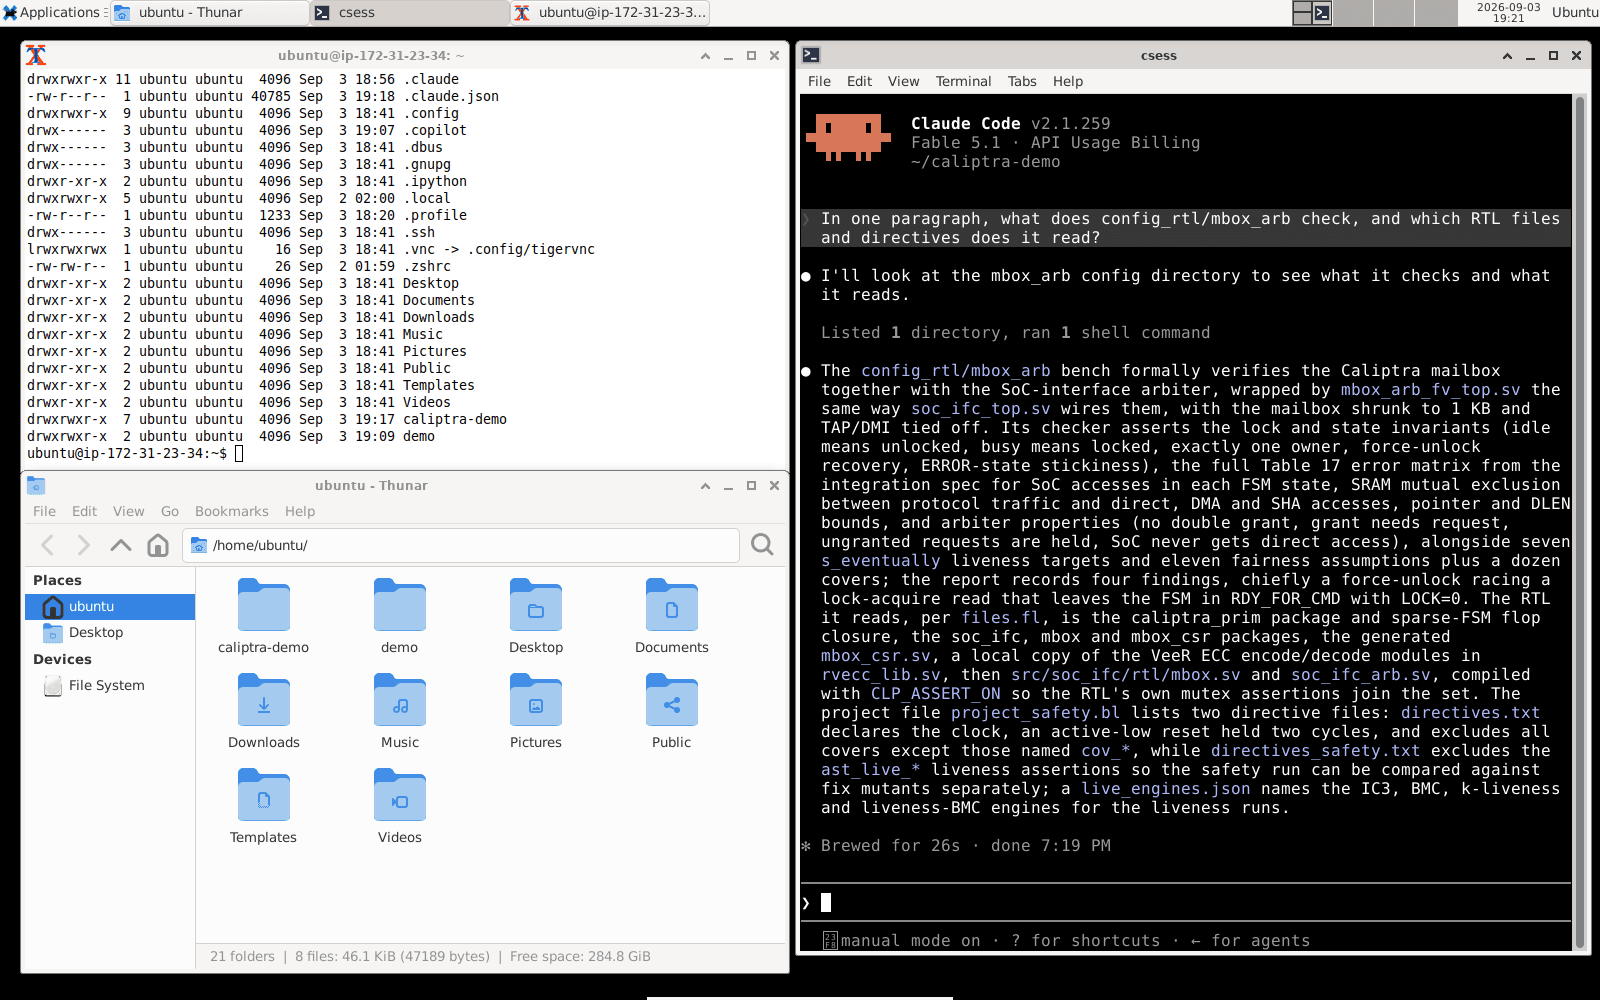
The desktop is 1600×1000. Applications you will want are on the menu or one
command away in a terminal: xfce4-terminal, thunar (files), gtkwave,
surfer.
code-server (VS Code in the browser)
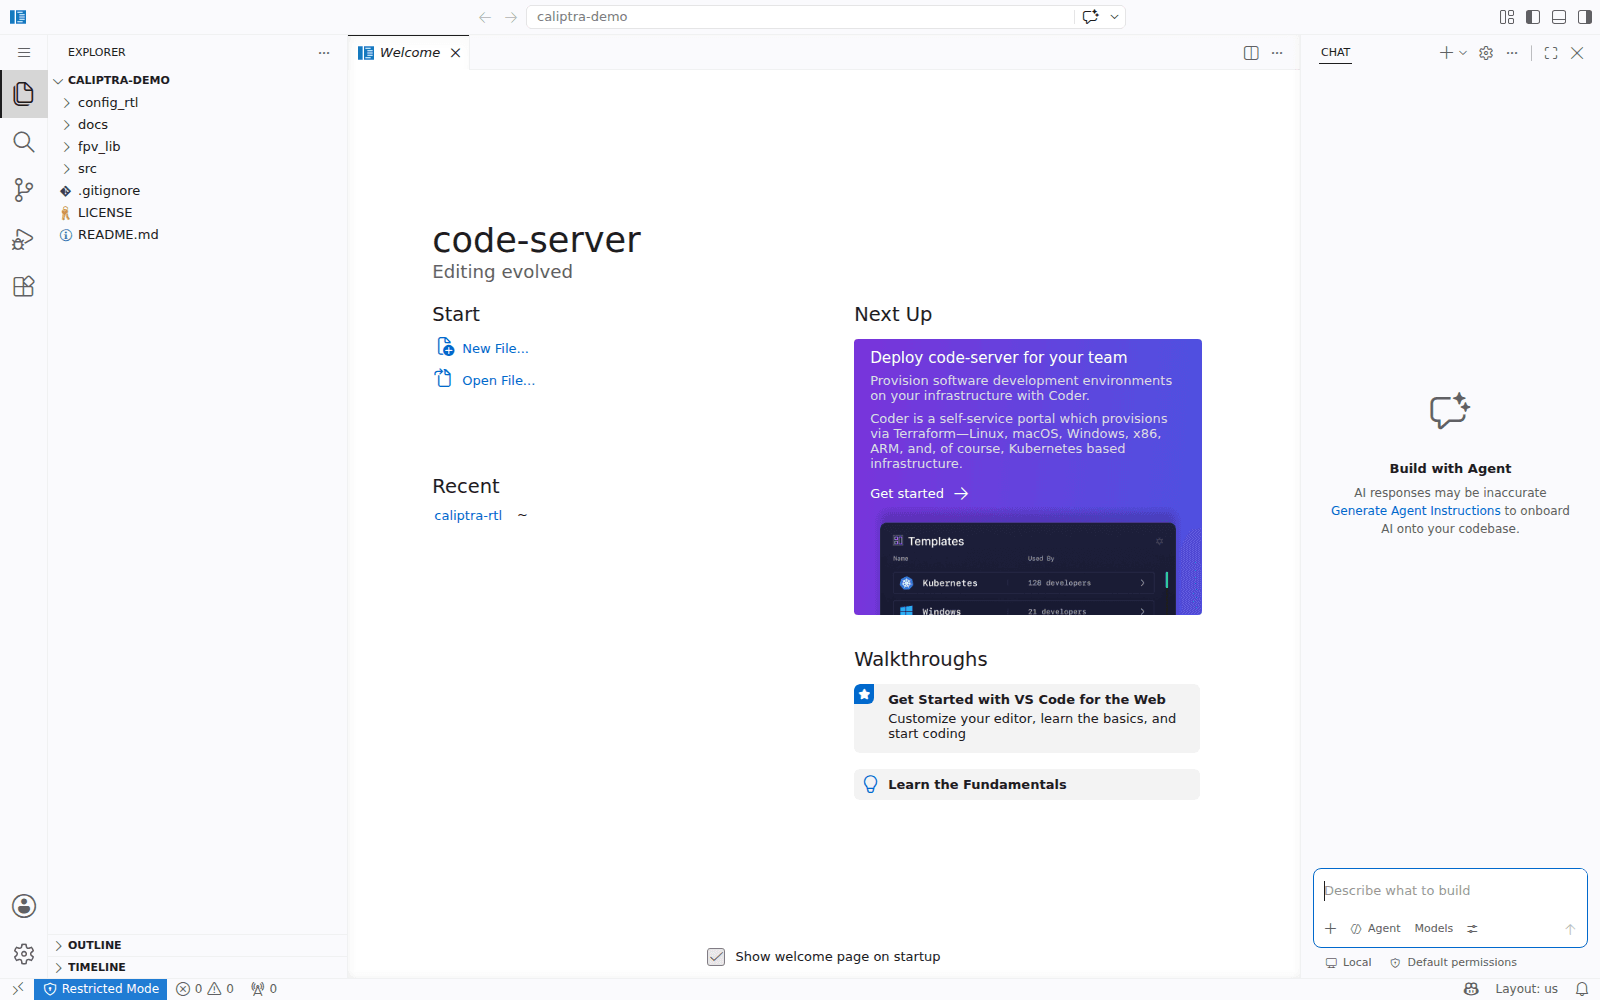
VS Code, served from the instance, running in your browser — no install on your laptop. Tunnel port 8080:
ssh -i your-key.pem -L 8080:localhost:8080 ubuntu@your-instance.singularity.voltai.aiOpen http://localhost:8080 and enter the code-server password from your
Voltai contact. You get a real editor for RTL and SVA, an integrated terminal
(run claude in it), and a file tree over the results directories the agent
produces.
Waveform viewers
When a property fails, the agent writes a counterexample VCD under the results directory, and simulation runs write VCDs too. Two viewers are installed.
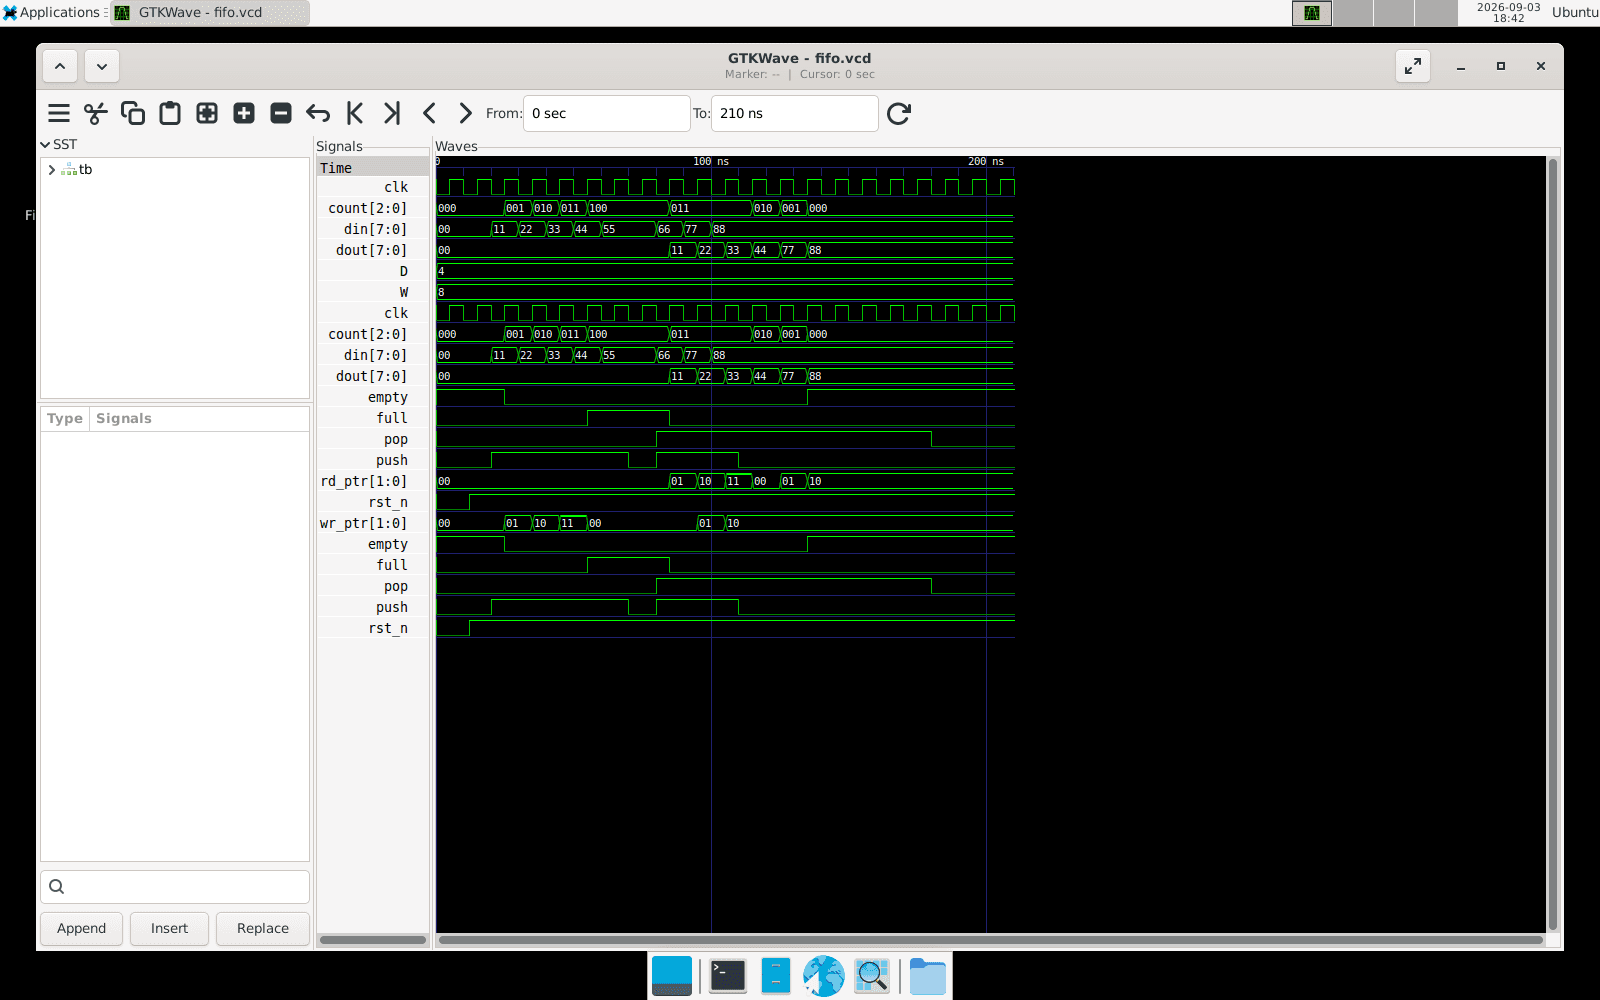
GTKWave
The standard. Open a trace from a terminal on the VNC desktop:
gtkwave out/vcds/my_assert.vcdSignals appear in the SST tree on the left; drag them into the wave pane,
or use Search → Signal Search Tree. Ctrl+F zooms to fit.
Surfer
A newer, faster viewer with a keyboard-driven command palette. Press Space
and type a command — scope_add tb.dut pulls in every signal under a scope,
zoom_fit fits the trace.
surfer out/vcds/my_assert.vcd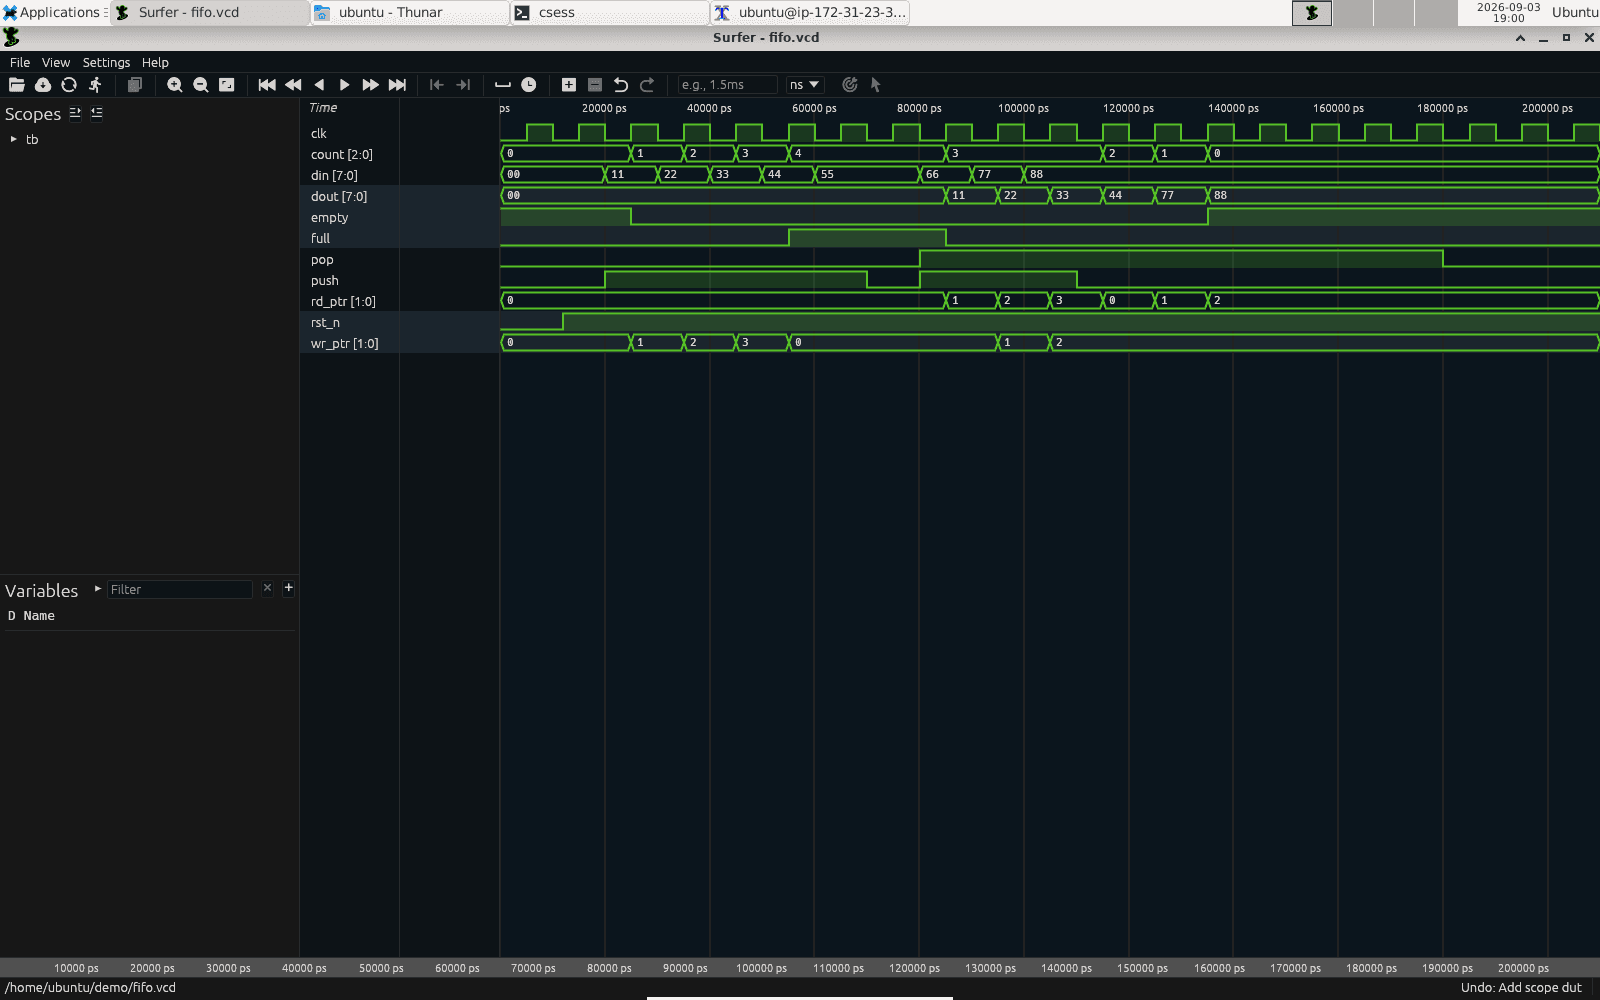
Without VNC: X11 forwarding
If you would rather not run a desktop, both viewers also work over plain X11 forwarding — the window appears on your own screen. You need an X server locally (XQuartz on macOS, VcXsrv on Windows, anything on Linux):
ssh -X -i your-key.pem ubuntu@your-instance.singularity.voltai.ai
gtkwave out/vcds/my_assert.vcd
You rarely need to open a VCD by hand. The agent surfaces the failing trace,
and the .delta file next to every VCD is a plain-text value-change listing
that is usually faster to read than the waveform. Reach for the viewer when
you want to see timing relationships across many signals at once.
All ports at a glance
One tunnel command that brings everything through:
ssh -i your-key.pem \
    -L 5901:localhost:5901 \
    -L 8080:localhost:8080 \
ubuntu@your-instance.singularity.voltai.ai| You open | You get |
|---|---|
VNC viewer → localhost:5901 | the desktop |
browser → http://localhost:8080 | code-server |
| the same terminal | a shell on the box — run claude here |